


Moving to the cloud in some ways makes things more complicated for analytics since bulk of your data is still On Premise. Having a relaible way to push data to cloud is critical to success of any cloud BI initiative. Oracle Business Intelligence Cloud services (BICS) data sync is an utility to load the on-premise data to BICS schema.
Data sync utility supports loading data from relational database tables as well as comma seperated value file sources. Data Sync utility allows to design jobs which supports both full & incremental loads, besides other capabilities like scheudling, notification and automation aspects. It also support specifying SQL queries thereby inching closer to the similar capabilities like a conventional ETL tool. Data Sync uses similiar concepts of DAC like defining connections, Tasks and maintaining the dependencies between the jobs
In this blog we will learn how to install, configure, setup connections, create tasks and load the data into BICS Schema from on-premise relational table and comma seperated value file sources.
Step 1: Installing BICS Data Sync.
1. Download BICS data sync from Oracle download site.
http://www.oracle.com/technetwork/middleware/bicloud/downloads/index.html
2. To set up the software, copy the BICSDataSync.Zip file to an installation directory with no spaces in its name, and unzip the files.
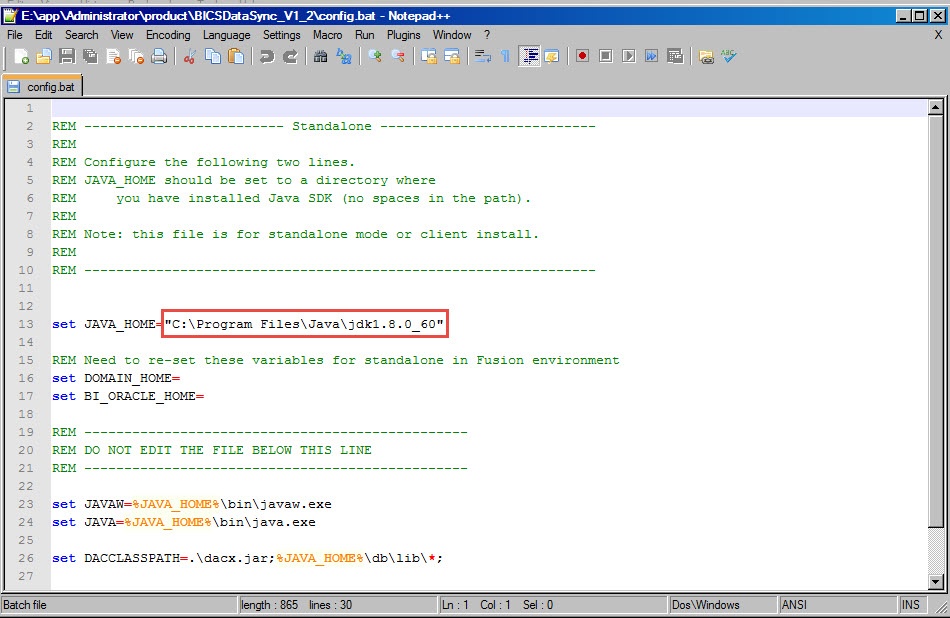
3. Depending on your operating system, edit either the config.bat or config.sh file, modifying the line that sets the JAVA_HOME. Replace the @JAVA_HOME with the directory where the JDK is installed.
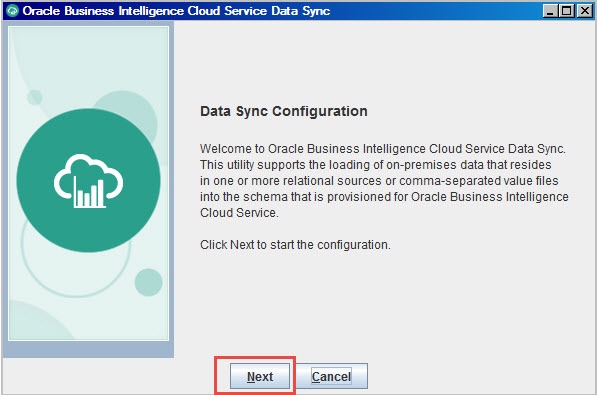
4. Execute datasyncclient.bat or datasynccclient.sh depending on the operating system to launch the first time Data Sync Configuration Wizard and click next
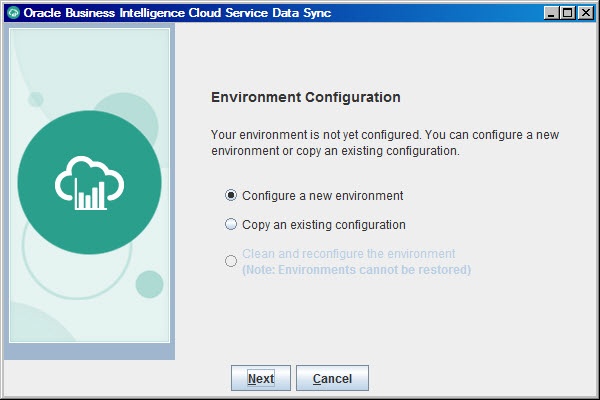
5. In Environment Configuration, select configure a new environment and click next to configure the repository and Java DB for Data Sync to store its metadata
6. Specify proect repository Name and click Next

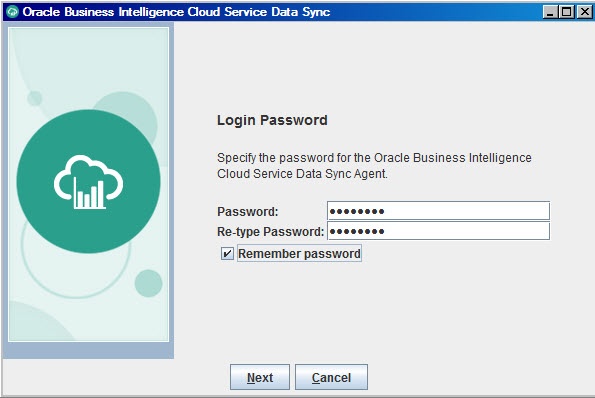
7. Choose Password for Datasync Login
8. Configuration is complete, click finish to close the configuration wizard.
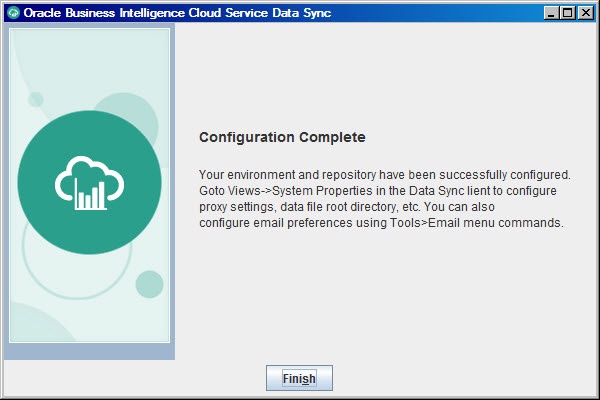
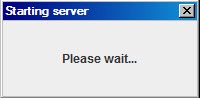
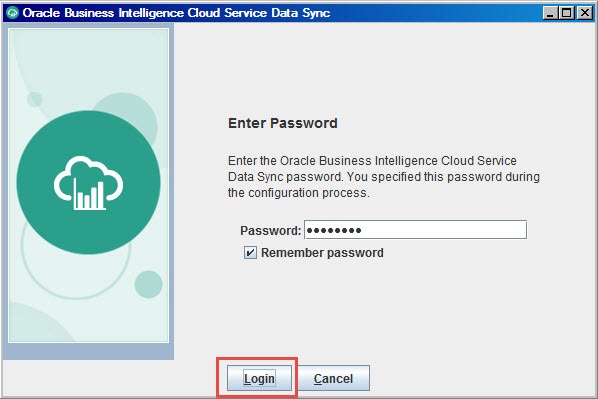
9. BICS Datasync server gets started, To get started, please enter the password set for the repository. Skip the create project option. Project can be created from Datasync client.
Step 2: Creating Project, Connections, Tasks/Jobs
1. Creating Projects
a. To Create a new Project, select File --> Project, In the project creation wizard, specify the New Project Name and click OK.
Please Note: A project is a list of tables/files to upload in a single session. You may need multiple projects to populate a BI Cloud database – either if loading data from multiple sources or if you need to schedule different tables at different times.


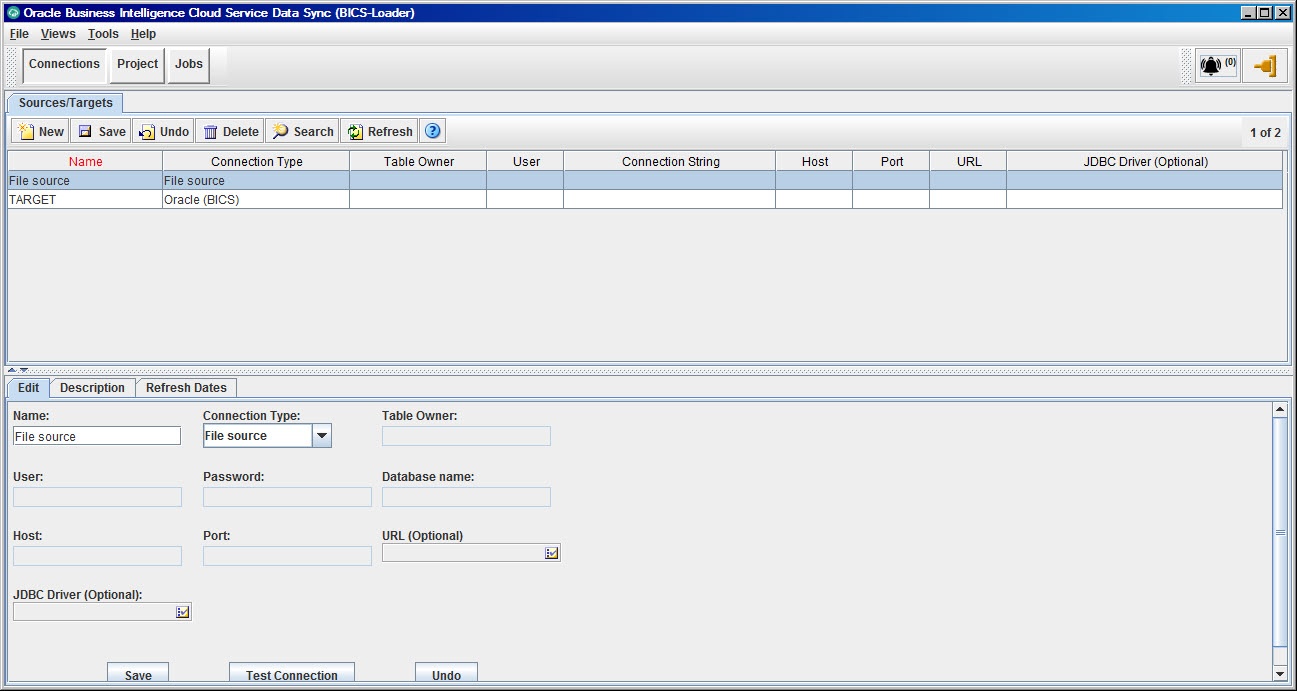
2. Creating Connections
a. Once Project is created, we need to setup Source & Target connections, Source connections can be RDMBS or Files, BICS Datasync supports connections to popular RDMBS like MYSQL, ORACLE, SQL SERVER, DB2 etc.,
1. Click on Connections
2. Select the TARGET Source
3. Enter BICS Username
4. Enter BICS Password
5. URL should be same as the BICS URL excluding /analytics tag at the end.
6. To Test the connection, click on Test Connection button, a pop up window appears with the test result.
7. Click OK to Close the Test result window
8. Save the changes to the TARGET connection, if the connection is successfully tested.

b. Following are the steps for setting up the Source RDBMS connection (e.g. Oracle source).
1. In the Connection Tab, click on New to create a new Source DB connection
2. Enter the Name of the connection, Connection Type, Table owner, Username, Password, Servicename, Host & Port number of the Source.
3. Click on Test Connection to check the status of the Test result
4. After reviewing the test results, Click OK to close the test result window
5. Once the connection is tested successfully, save the connection details.

3. Importing Metadata from Relational, File & Target into Project.
a. Once Connections for source and target is succesfully configured, then we can to create the tasks/ETL.
1. To setup a new datasysnc task, Select the Project Tab
2. In the Relational Data Tab, click on Data from Table to import the metadata of the source table(s)
3. In Import Table into Datasync window, select the appropriate data sources.
4. Search/Select the list of tables displayed and Import tables.

b. To Import metadata from file source, follow the below steps
1. Select File Data tab under Project and Click on New
2. Select the file, enter the file name and also enter the Logical Name of the File Source and then click Next

2. Configure the import options as shown below and Click Next

3. Select Target table options and click Next

4. Review the Structure imported and add any basic transformations if required and Click OK to create a File Source Metadata.

c. Review Target Metadata.
Note: By default BICS datasync adds additional 3 columns in the Target table namely:
1. DSYS_BATCH_ID: Tracks the batch that is trying to upload the data. Each table load streams multiple batches (currently of 3,000 rows), with each batch assigned a unique number.
2. DSYS_INSTANCE_ID: Tracks the Data Sync installation instance ID
3. DSYS_PROCESS_ID: Tracks the process ID assigned to a certain run of the job.

Step 4: Creating Jobs & Loading On-Premise data to BICS Schema
1. Creating & Executing Jobs
a. A job is an instance of running a particular project and can be associated with a schedule to regularly run it. Clicking on the Jobs button in the top menu bar opens the Jobs window. To create a new executable job, Click New & Enter a Job Name.

b. To Execute the Job
1. click on Run Job button
2. Go to the Current Jobs
3. All Tasks would be queued

c. You can also view the Job History by selecting the History tab to review the status of previous loads. Alternatively you can schedule the job to run automatically using the Job Schedules tab. Clicking on the new button opens up a new line. In the bottom window you enter the details of the schedule – a name for it, the job to run and then the frequency details. Obviously the client does not need to be open for the schedule to run – the DataSync agent running in the background will do all the work provided the DataSync agent must be running.

d. Finally we can check the data that is been loaded in Oracle Cloud Schema by logging on to BICS Apex URL and browsing through the schema objects as shown below, notice the extra columns created by BICS Datasync.

CONCLUSION:
The Business Intelligence Cloud Service Data Sync provides an interface similar to DAC. Datasync supports the load of on-premises data residing in one or more relational or comma-separated value file sources into the schema provisioned on the Oracle Business Intelligence Cloud Service.
.svg)

.svg)